
If you’ve spotted a dark stain on the ceiling, caught a musty smell behind a cabinet, or just had a slow leak repaired, you’re probably wondering whether there’s mold growing somewhere you can’t see. The short answer: a DIY test kit can confirm mold is present, but it can’t tell you what species it is, how much is there, or where it’s hiding. A professional inspection does all three. Whether a kit is a reasonable first step or a waste of $30 depends on what question you’re actually trying to answer, and that’s what this post breaks down.
What DIY Mold Test Kits Actually Measure
Most kits you’ll find at hardware stores or on Amazon use one of two methods: a swab test or a petri-dish air sample.
- Swab tests require you to wipe a visible surface and mail the sample to a lab. Results come back in a few days and tell you whether mold spores were present on that specific surface.
- Petri-dish air tests sit open in a room for a set time (usually 24–48 hours), collecting whatever spores are floating in the air. You then seal the dish and mail it, or watch it yourself over several days to see if anything grows.
Here’s the problem with both: mold spores exist in virtually every indoor environment at low levels. A positive result from a petri dish left open in a Las Vegas home in August, when dust and organic particles are blowing in from the desert, doesn’t tell you whether you have a problem. It tells you that air contains spores, which is almost always true. Without a baseline outdoor sample taken at the same time, you have no meaningful comparison.
Swab tests are more useful when you can see something suspicious and want to confirm it’s mold before paying for remediation. But they still don’t tell you the extent of growth behind the drywall, under the flooring, or inside the HVAC system.
Bottom line on DIY kits: They’re best used as a low-cost first check on a visible stain. They are not a substitute for a professional assessment when the source is unknown, the smell persists after cleaning, or anyone in the home is experiencing respiratory symptoms.
What a Professional Mold Inspection Covers
A certified mold inspector does several things a $30 kit cannot.
- Visual inspection of the whole structure, not just the spot you noticed. Inspectors check crawl spaces, attic sheathing, under sinks, around HVAC air handlers, and inside wall cavities with a moisture meter or thermal camera. In Las Vegas homes, the HVAC system is a common culprit: units run hard through a long cooling season, and condensate drain lines that back up can saturate insulation inside the air handler without any visible sign in the living space.
- Moisture mapping, a moisture meter identifies elevated readings behind surfaces that look dry. This tells you where the water source is, not just where the mold ended up.
- Air and surface sampling with lab analysis, a professional collects samples using calibrated equipment and sends them to an accredited third-party lab. Results include spore counts, species identification, and a comparison to outdoor baseline levels. That comparison is what makes the data actionable.
- Written report, this matters if you’re dealing with an insurance claim, a real estate transaction, or a landlord-tenant dispute. A professional report with lab chain-of-custody documentation carries weight; a petri dish you watched on your kitchen counter does not.
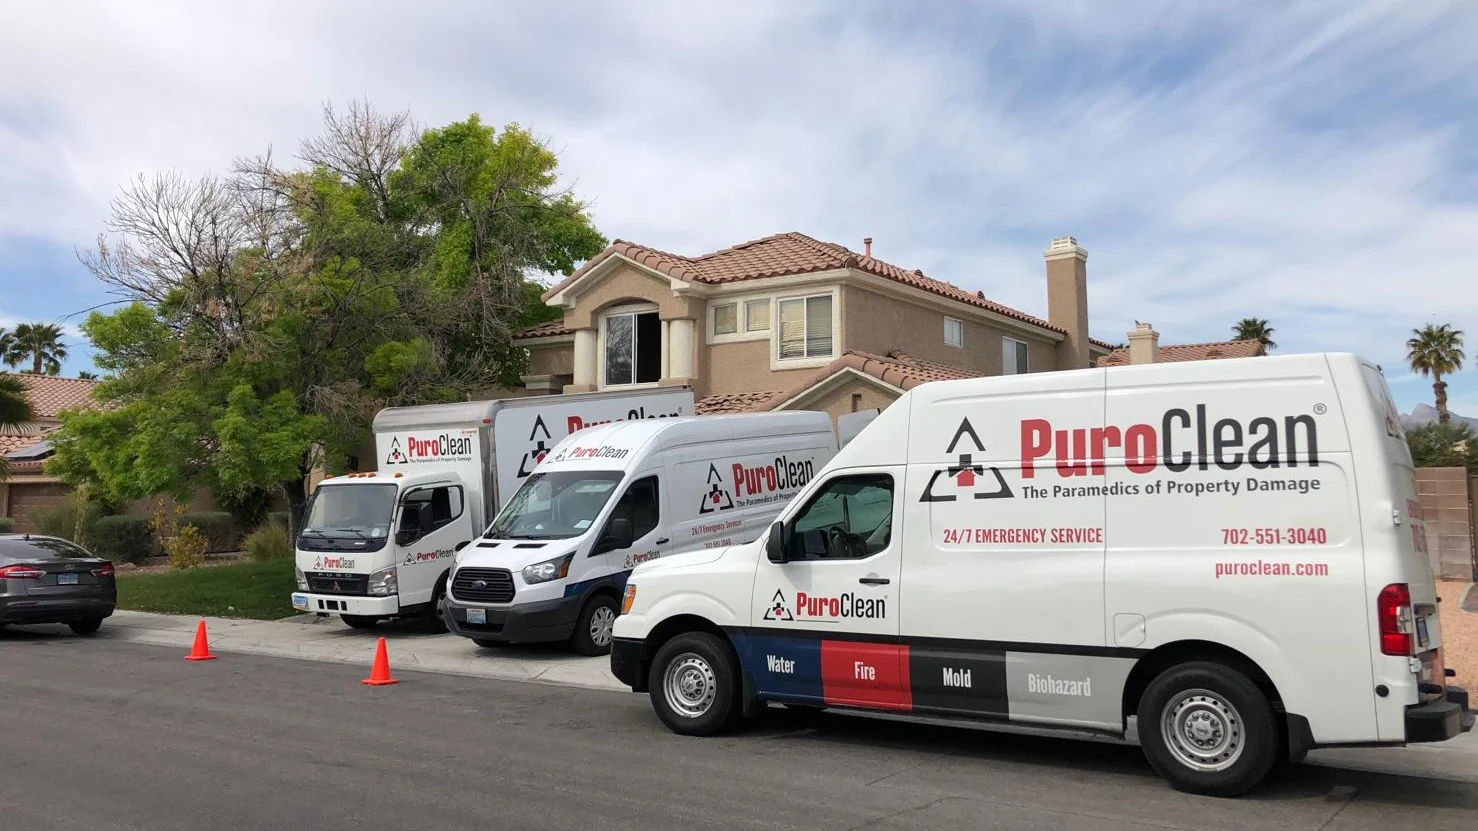
PuroClean of East Las Vegas offers mold inspection and testing as a separate service from remediation, which matters: you want the person finding the problem and the person fixing it to be working from the same objective data.
When a DIY Kit Is (and Isn’t) Enough
A DIY kit may be a reasonable starting point if:
- You can see a small, isolated stain (smaller than roughly 10 square feet) and want to confirm it’s mold before deciding on next steps.
- You’re a landlord doing routine due diligence on a vacant unit with no reported issues.
- You want a rough data point before deciding whether to invest in a professional inspection.
Skip the kit and call a professional directly if:
- The musty smell is present but you can’t find the source.
- A water intrusion event happened, a pipe leak, a roof leak, a flooding event, and more than 48 hours passed before it was fully dried. Mold can begin colonizing porous materials like drywall and wood framing within 24–48 hours of sustained moisture exposure.
- Anyone in the home has unexplained allergy-like symptoms, respiratory irritation, or headaches that improve when they leave the house.
- You’re buying or selling the property and need documentation.
- The HVAC system is involved, mold inside ductwork or an air handler distributes spores throughout the entire home every time the system runs.
What Not to Do While You’re Deciding
A few common mistakes that make the situation worse:
- Don’t disturb visible mold before testing. Scrubbing or bleaching a moldy surface before sampling contaminates the test and can release a large burst of spores into the air.
- Don’t run fans or the HVAC system in the affected area. Airflow spreads spores to unaffected rooms.
- Don’t assume bleach solves the problem. Bleach kills surface mold on non-porous materials like tile, but it doesn’t penetrate porous materials like drywall or wood. The surface looks clean; the root structure (hyphae) remains and regrows.
- Don’t seal off the area with plastic sheeting without professional guidance. Improper containment can trap humidity and accelerate growth rather than stop it.
Understanding the Remediation Process If Mold Is Confirmed
If testing, professional or DIY, confirms a significant mold problem, remediation is not a one-step cleaning job. A proper process involves:
- Fixing the moisture source first. No remediation holds if the water intrusion continues. This sometimes means plumbing repairs, improved ventilation, or grading changes before mold work begins.
- Containment of the affected area to prevent cross-contamination.
- Physical removal of contaminated porous materials (drywall, insulation, subflooring) that can’t be cleaned to an acceptable spore level.
- HEPA vacuuming and antimicrobial treatment of structural surfaces.
- Post-remediation verification testing, a clearance air sample taken after work is complete and containment is removed, confirming spore levels have returned to normal. This is the step many DIY attempts skip, and it’s the only way to know the job is actually done.
PuroClean of East Las Vegas handles the full remediation process and can coordinate post-remediation clearance testing so you have documentation that the problem is resolved, not just treated.
When to Make the Call
If you’re still in the “I’m not sure if this is mold” stage, a DIY swab kit on a visible stain is a reasonable low-cost first step. But if the source is hidden, the smell won’t go away, or the problem followed a water damage event, the $30 kit is likely to give you an answer without giving you a solution. A professional inspection identifies the full scope, gives you lab-backed documentation, and tells you exactly what needs to happen next.
If you’re in the Las Vegas area and want a straight answer about what you’re dealing with, call PuroClean of East Las Vegas at (702) 551-3040. A conversation costs nothing, and knowing the actual scope of the problem is always worth more than a guess.